The Profile panel  allows you to build your MapStand community profile and place your knowledge and experience on the map. Add information about your education and work experience and link or geotag them to map features e.g. country, well, field, seismic, licensing round, etc. This enables other MapStand platform users to find you on the map.
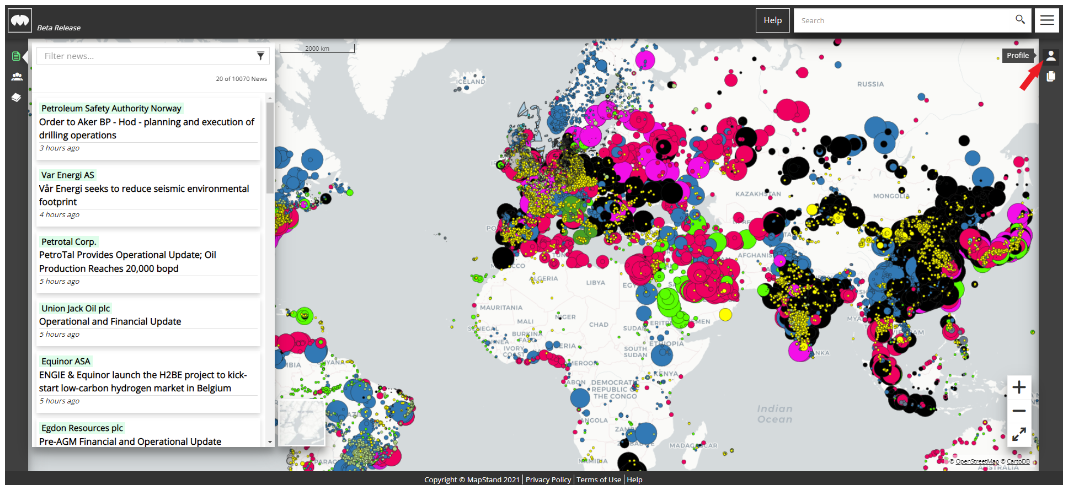
To open the Profile panel, click on the  icon on the right hand side of the MapStand Community Platform interface.
Select Theme
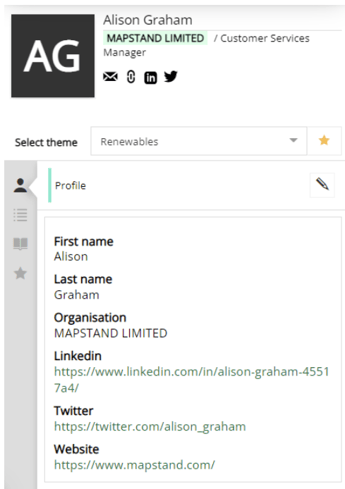
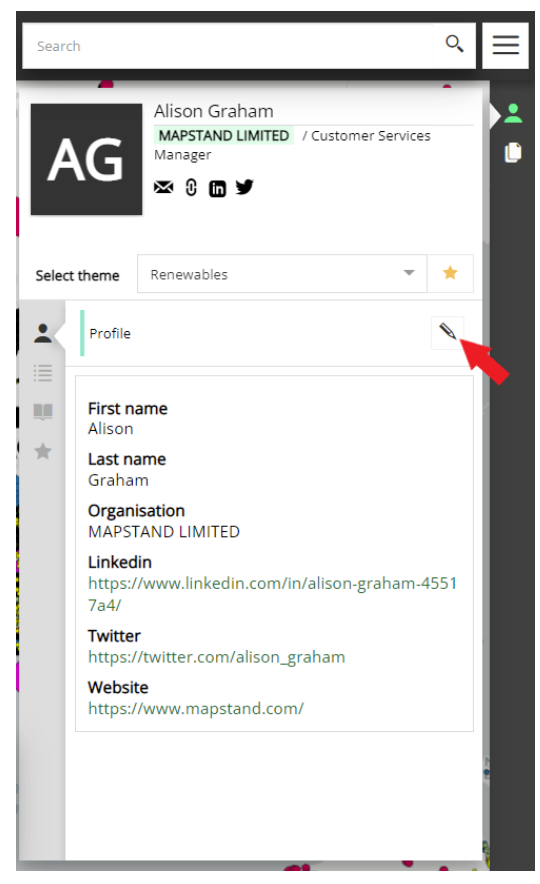
This section of the panel displays your default map theme.
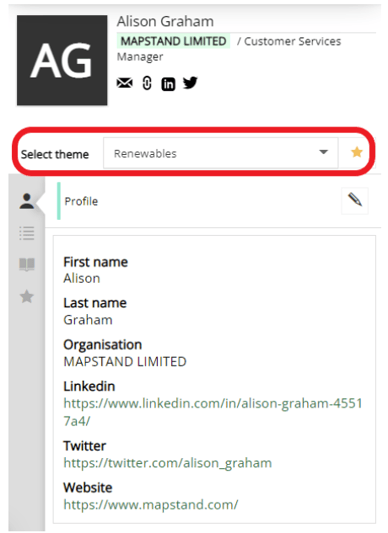
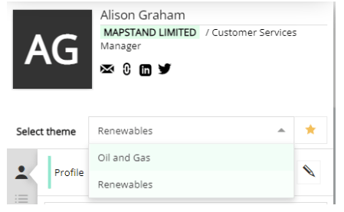
You can change your default map theme here (as well as in the Layers panel) by clicking on the down arrow icon to reveal a list of themes. Select the other theme (there are only two themes currently) and toggle on the star, on the right hand side of the theme name, to make it your default map theme (the star will turn yellow)
Profile tab
To edit the information that appears in your profile, click on the  icon on the right hand side of the Profile tab
  (see image below)
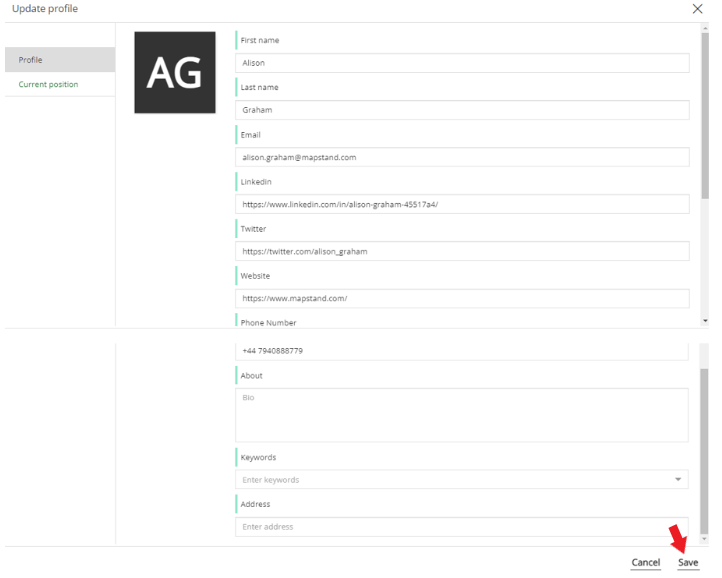
When the Update profile window appears, edit the information and select Save.
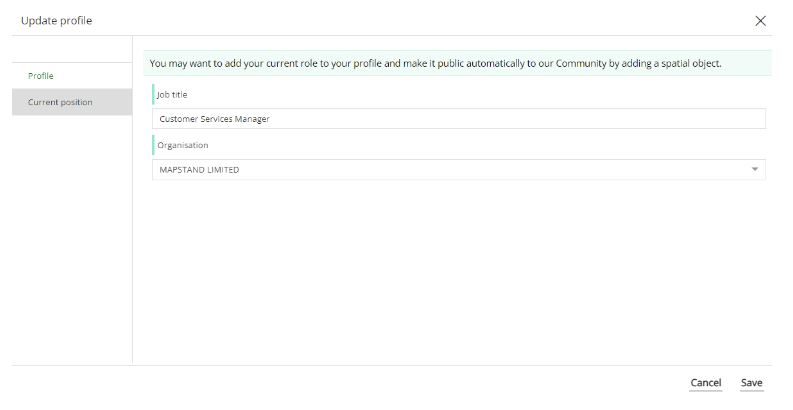
Click on the Current position tab of the Update Profile window to add/edit your current Job title and Company you work for (see image below).
Work tab
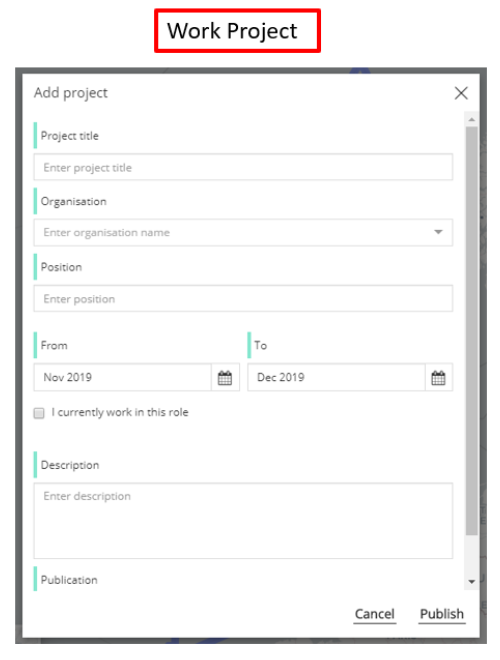
To add your work experience, select the Work tab  and click the
  button to add a project.
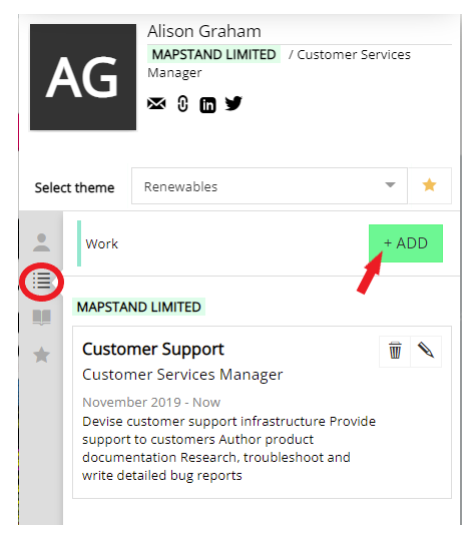
This opens a Work project window (see below). Once you've added the information, click the Publish button.
Education tab
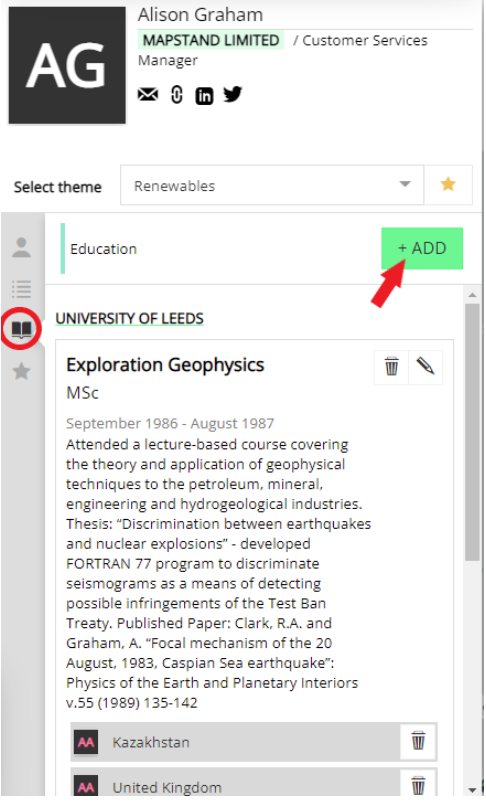
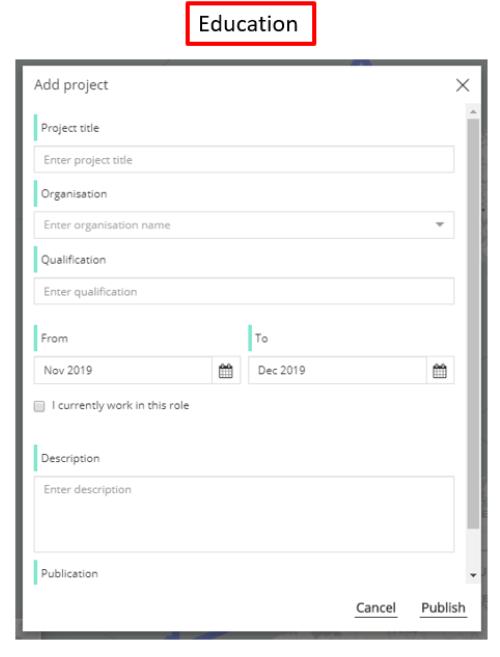
It's a very similar process to add your Education. Simply select the Education tab  icon and click the
 ![]() button.
button.
Making your profile public
To make your profile visible to the rest of the MapStand user community, link at least one spatial object / map feature to your profile.
- Search for the spatial object/map feature using the Search Bar or click on the feature on the map.
- Select the item you'd like to add to your profile, from the list displayed in the Info Panel. See the example below:
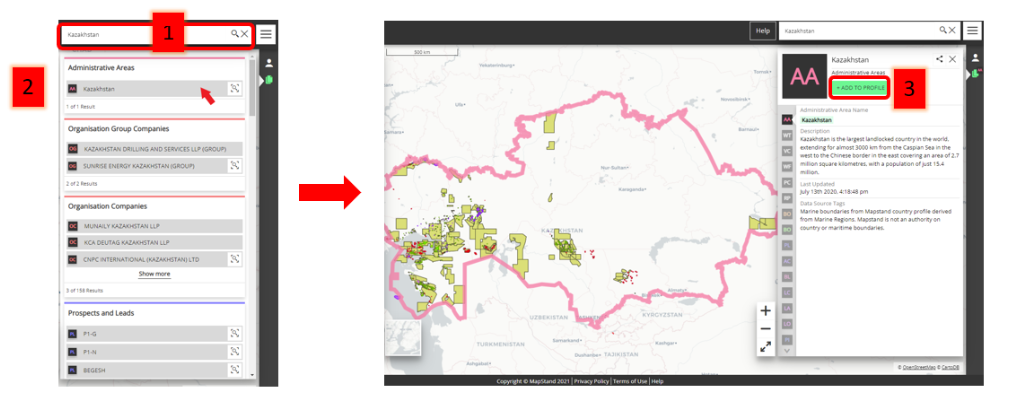
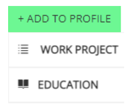
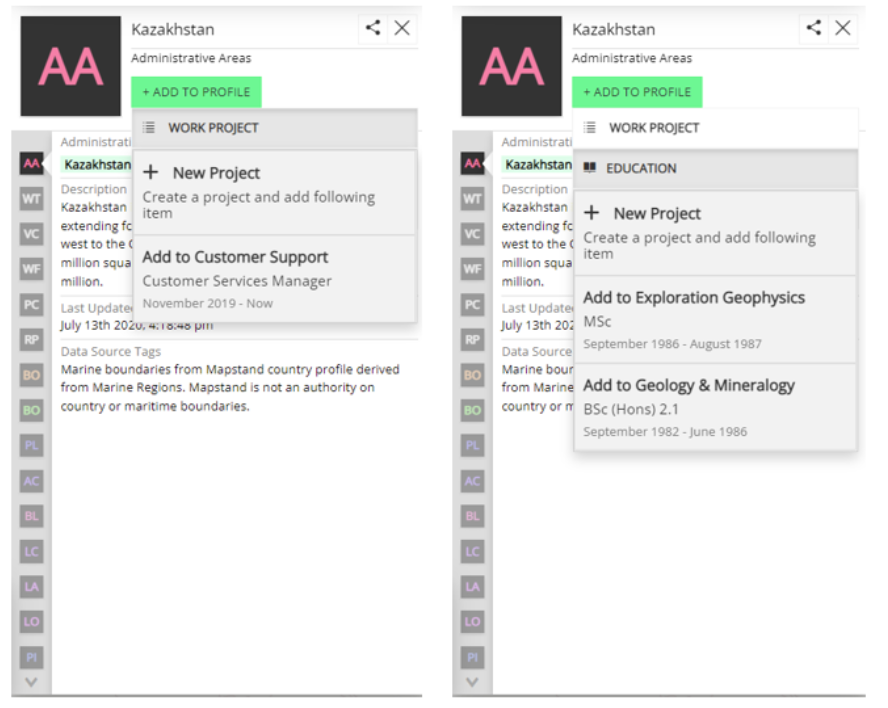
3. Click on the  button and select the Work project
 ![]() or Education
or Education ![]() option.
option.
Select whether to add the map feature to a new project or existing project.
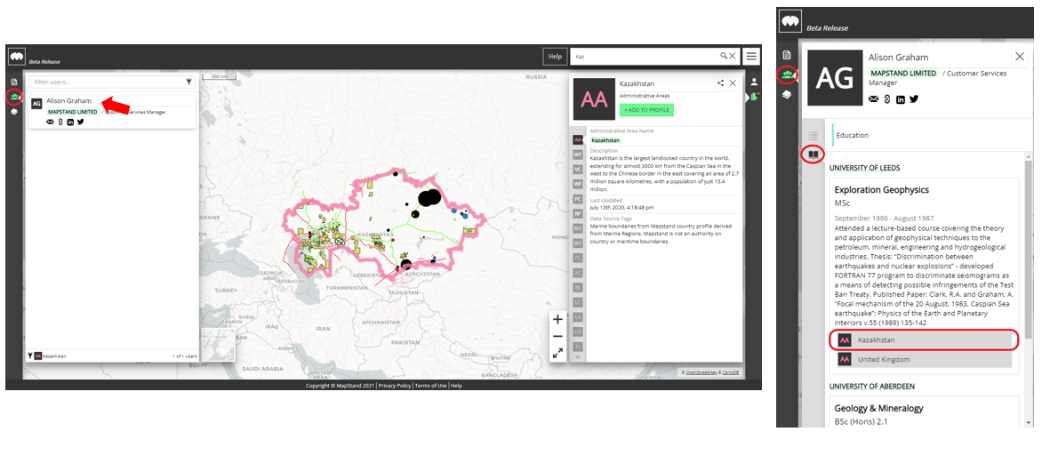
4. The map feature is now linked to your profile.
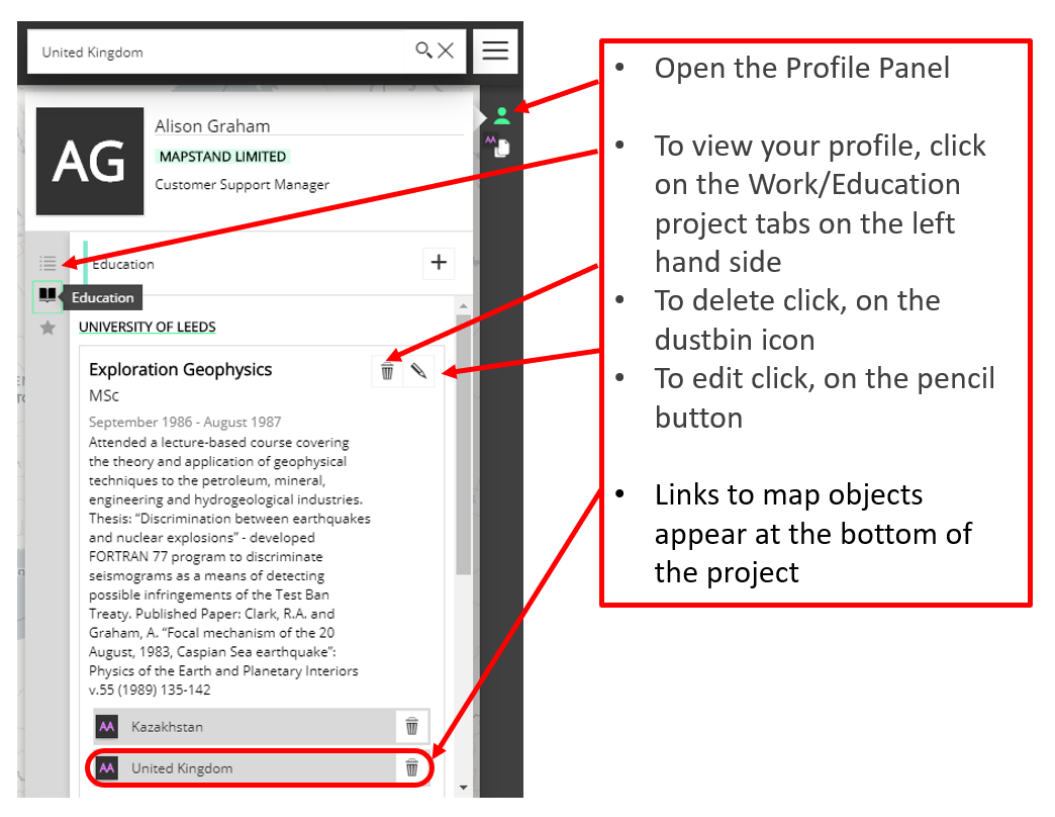
5. You will then be listed in the Community Panel (click on the  icon on left hand side of the interface) and other MapStand users will be able to read your profile to find out about your experience and knowledge.
Favourites tab
Favourites are used to quickly display your favourite map feature/spatial objects on the map.
To display and view your Favourites, click on the Favourites  tab on the Profile Panel.

Favourites are saved to your Profile using the Info Panel.
First, find a map object you want to save as a favourite. This can be done using the Search Bar or Newsfeed tag, or by simply clicking on the map and selecting from the list in the Info panel.
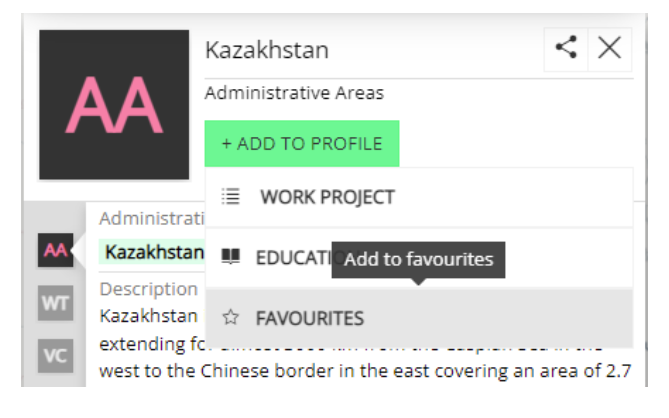
Then click on the ![]() button and select FAVOURITES from the list (see image below).
button and select FAVOURITES from the list (see image below).
This map feature will then be saved in your Profile as a Favourite.