To create a new map
-
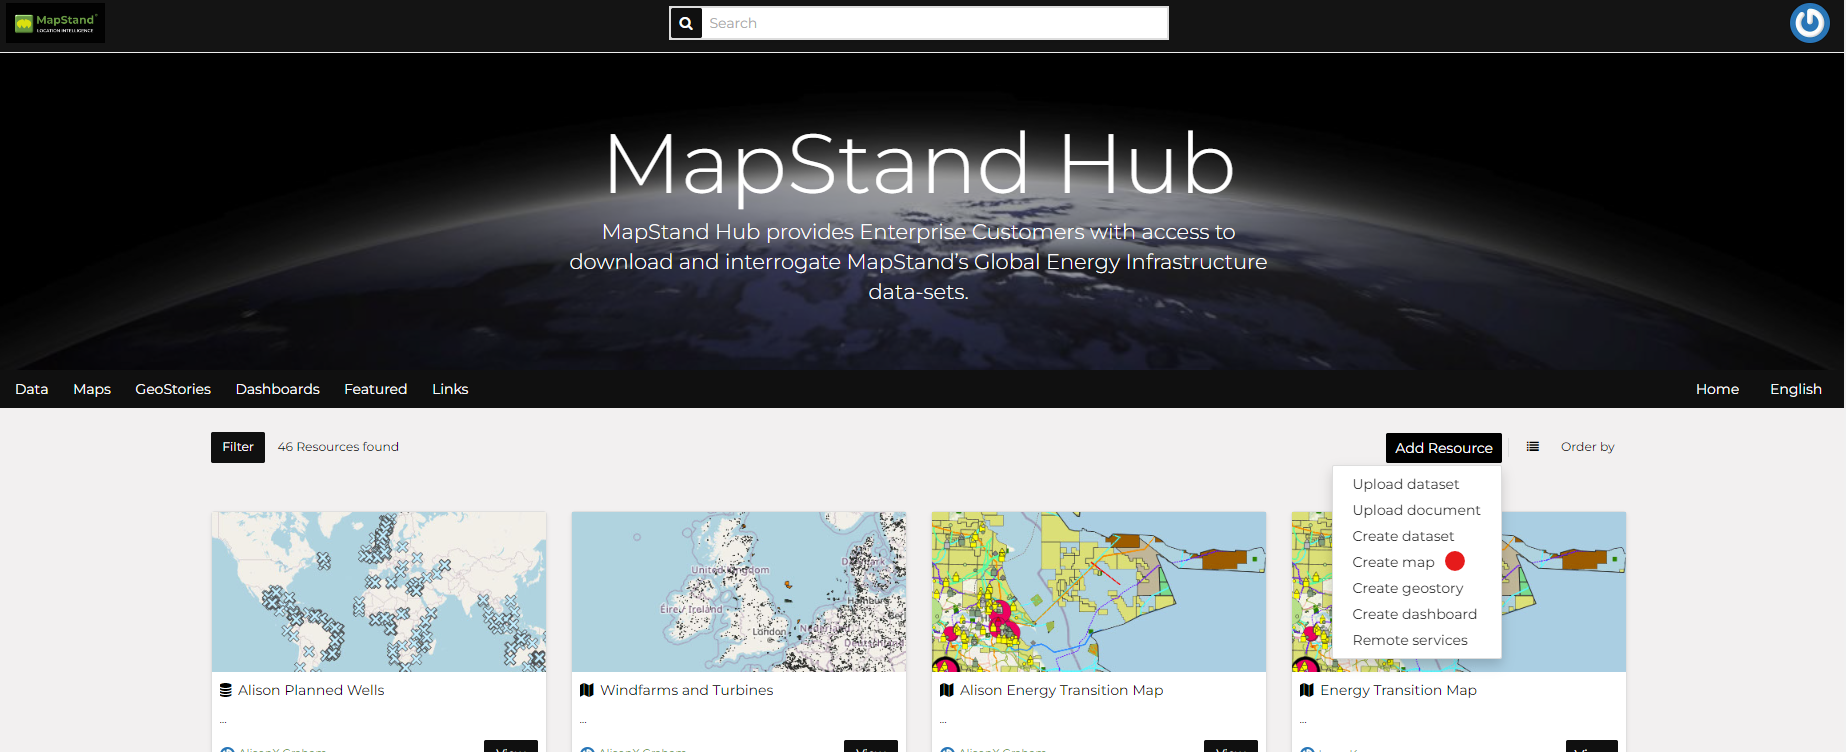
select the Create Map link from the Add Resource button as shown below
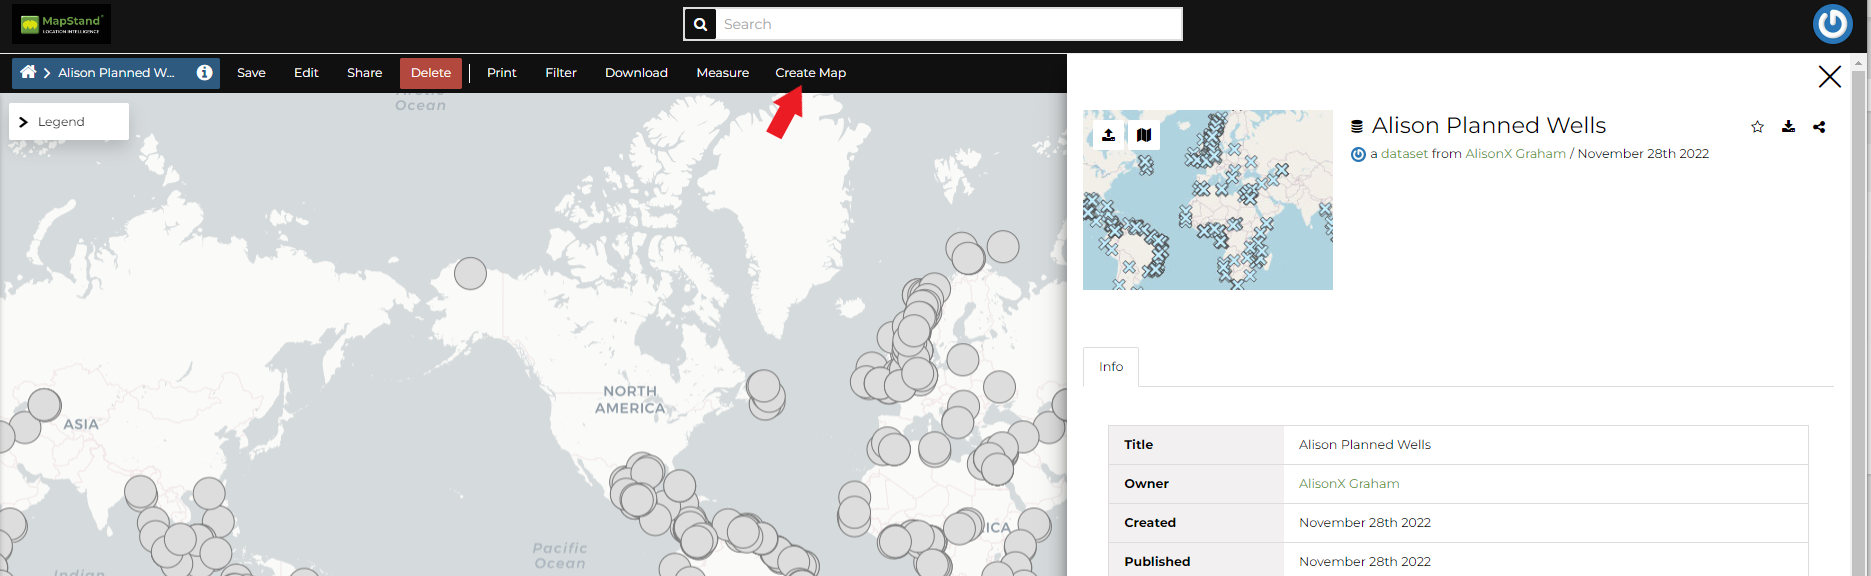
Note: - you can also select the Create map link in the View dataset page (this creates a map using a specific dataset)
The new Map will open in a Map Viewer like the one in the picture below.
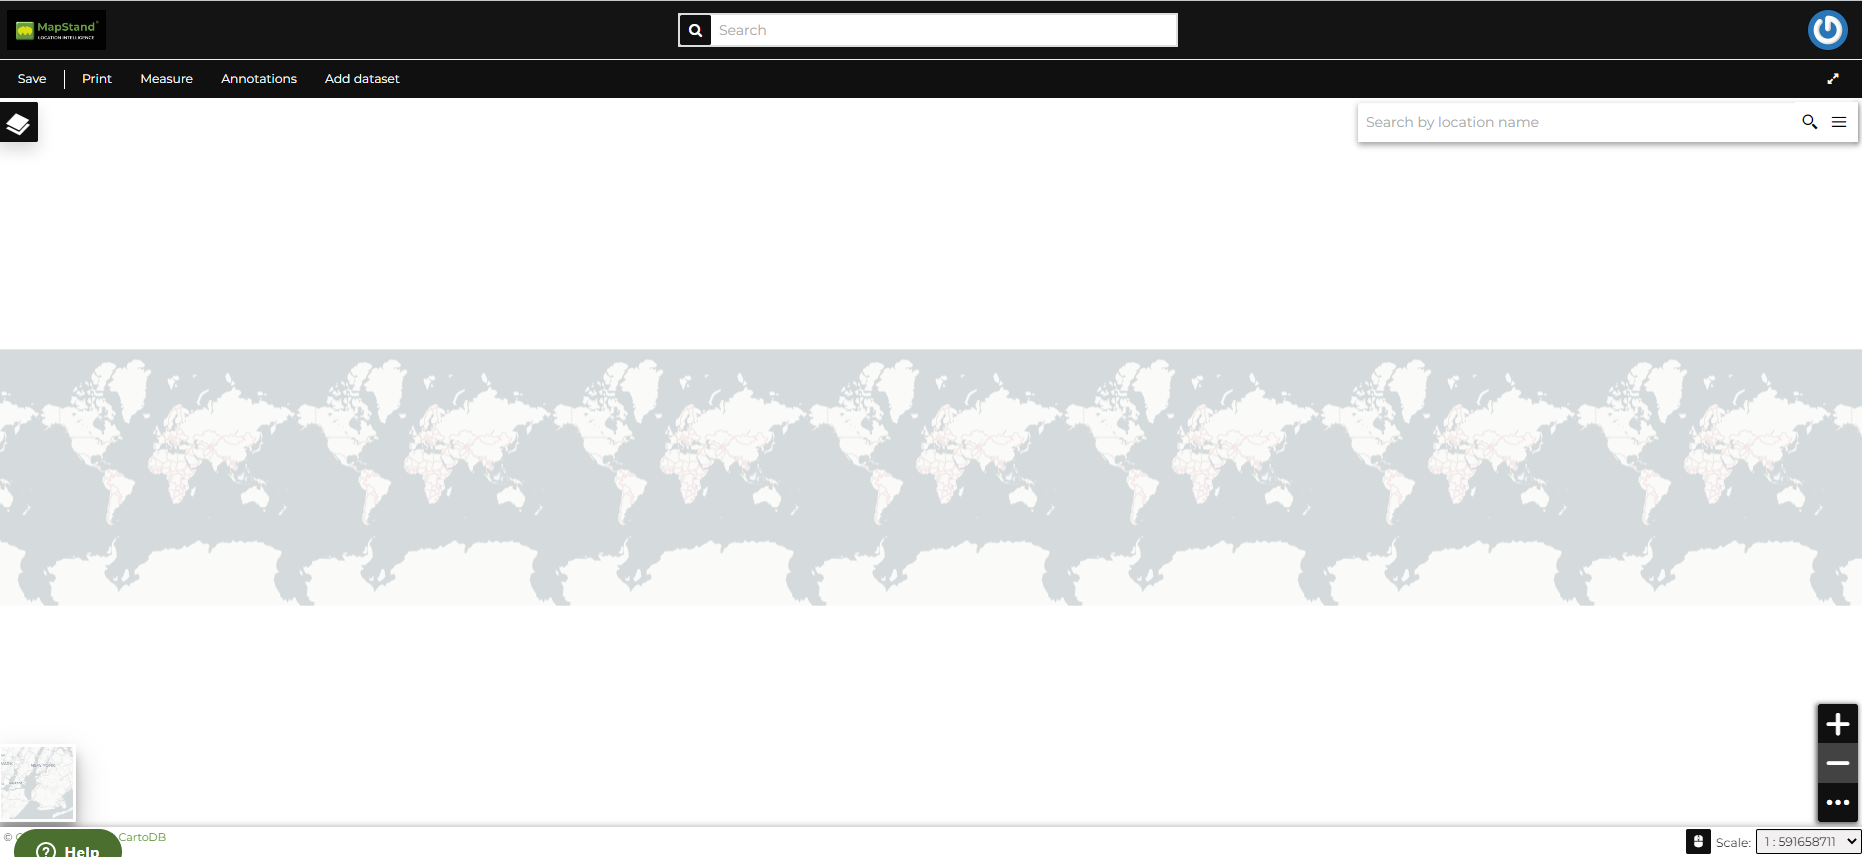
The Map Viewer
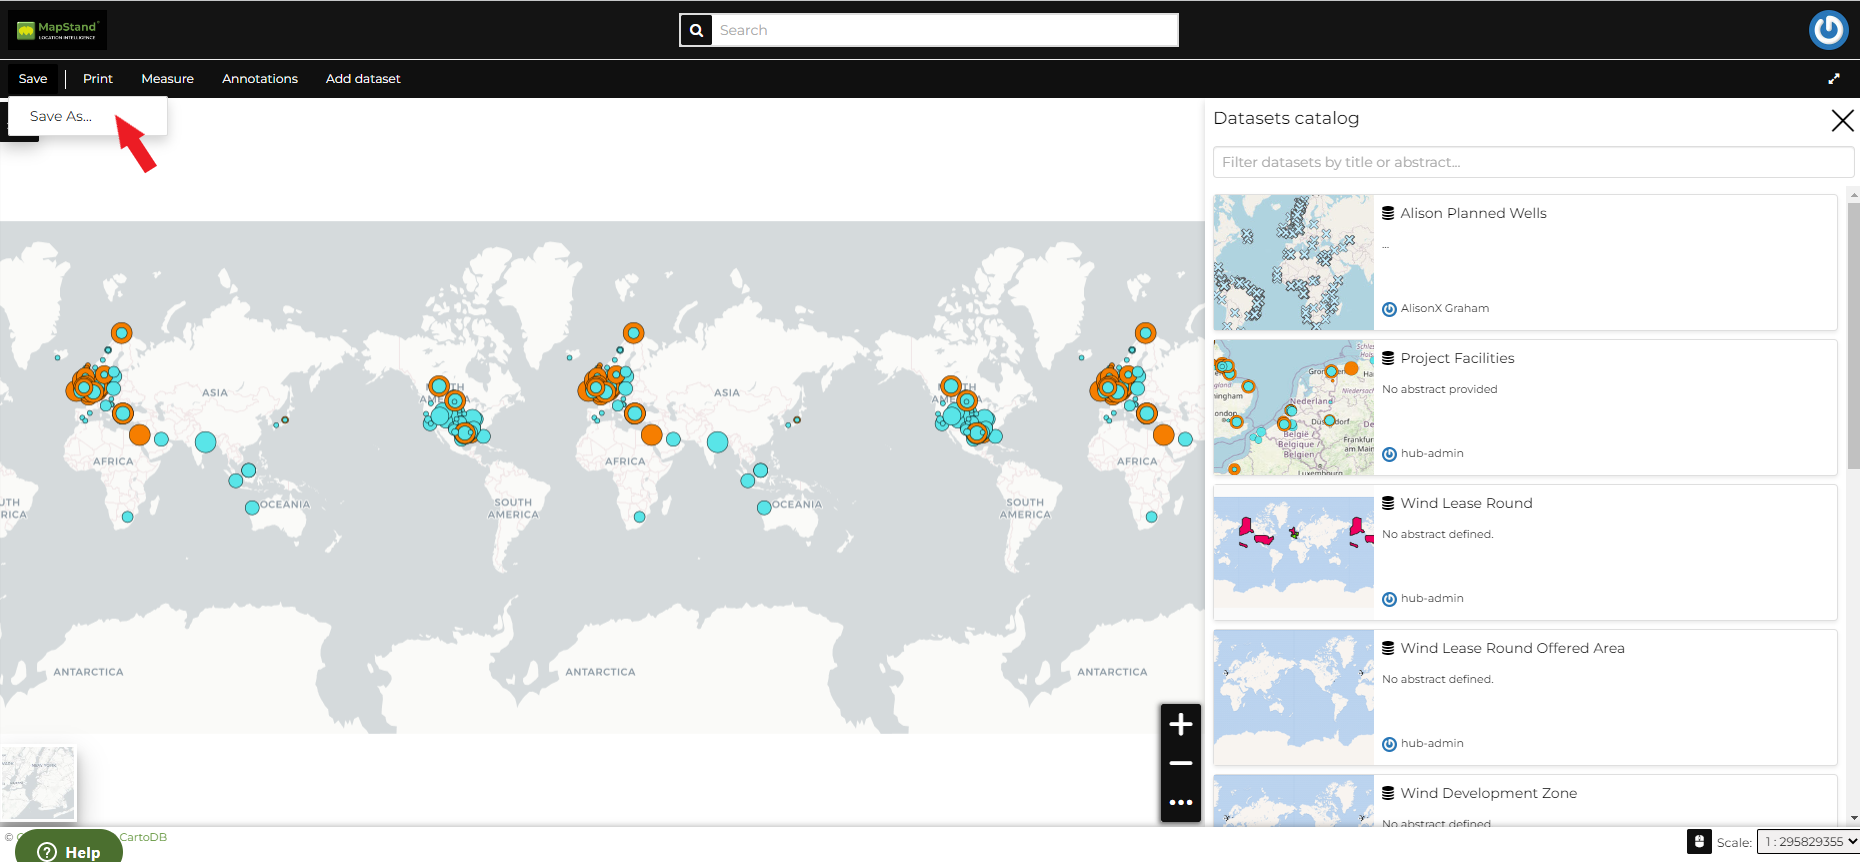
To add a datasets from the Catalog, select the Add dataset option on the Map navigation bar.

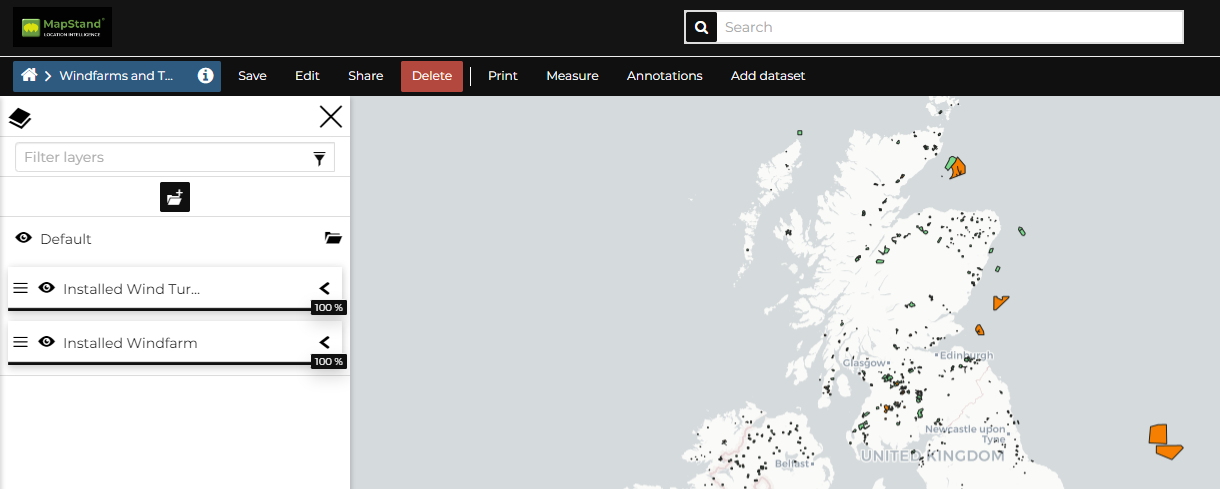
In the upper left corner the  icon opens the Table of Contents (TOC) of the Map.
icon opens the Table of Contents (TOC) of the Map.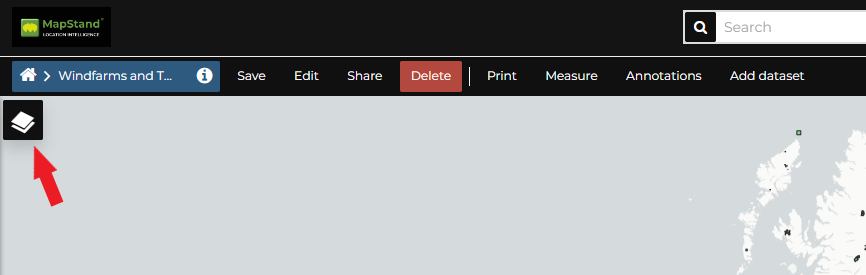
This allows the user to manage all the datasets displayed on the map.
From the TOC, you can
-
manage datasets overlap on the map by shifting their relative positions in the list (drag and drop them up or down in the list);
-
filter the datasets listed by typing text in the Filter layers field;
- manage dataset properties such as Opacity (scroll the opacity cursor) and Visibility (click on
 to hide the dataset, click on
  to display it on map);
 - zoom to datasets extents (
 )
) - manage dataset settings (
 ).
).
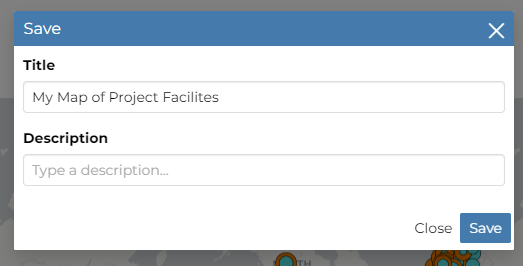
Once you are happy with the datasets added, save the Map by clicking on Save button then Save as.
If you followed the steps above, you have just created your first Map.
The Map you created is now available to everyone in your team. We will take a closer look at the Map Viewer tools in the Exploring Maps section.