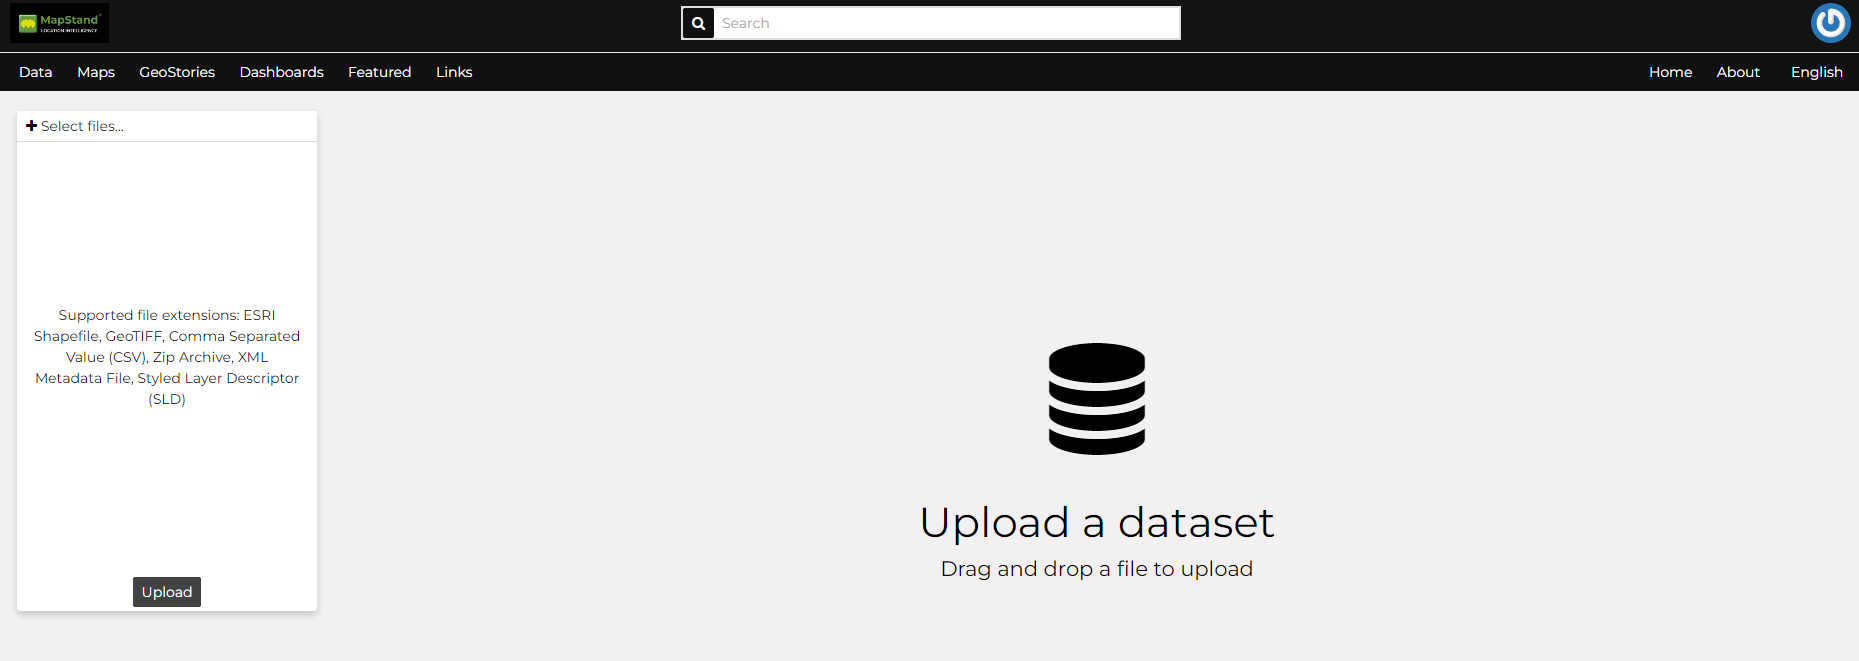
The Upload a dataset page can be reached from the Upload dataset link of the Add Resource menu above the resources list page.

The Upload a dataset page looks like the one in the picture below.
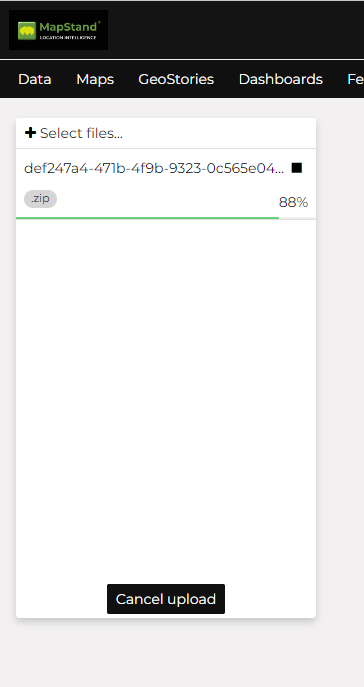
In this example an ESRI Shapefile, with all its mandatory files (.shp, .shx, .dbf and .prj), has been chosen. A progress bar shows the operation made during the dataset upload and alerts you when the process is over.
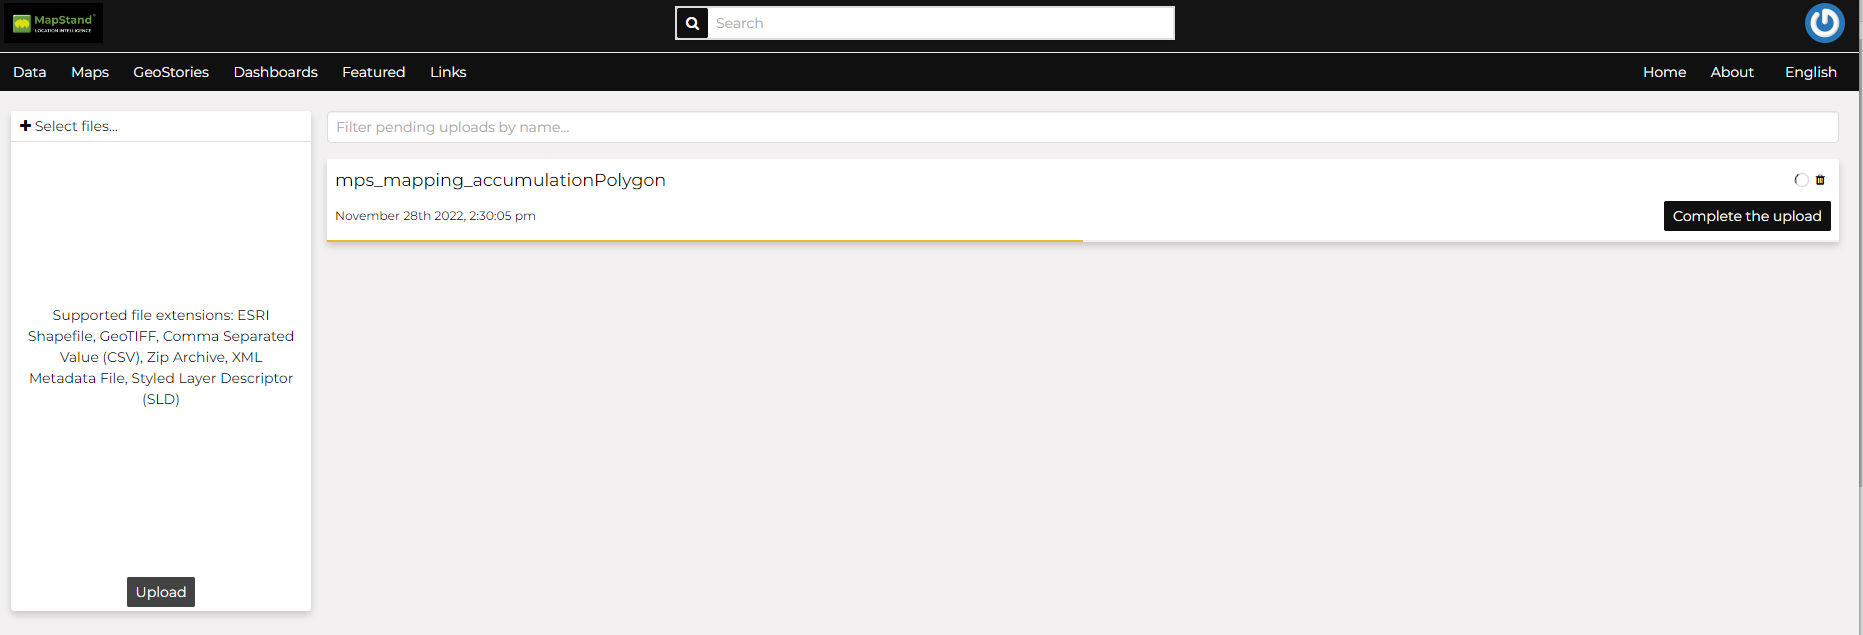
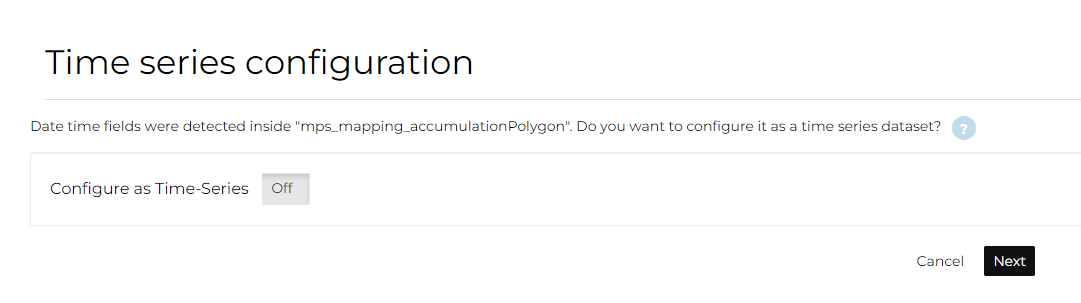
Next, click on the Complete the upload button. If date/time fields are detected, the following will appear. If you don't wish to configure the dataset as a time-series, ignore and select Next.
When the process ends the dataset will be displayed....

Note: If you get the following error message:
Total upload size exceeds 100.0 MB. Please try again with smaller files.
This means that there is an upload size limit of 100 MB. Please contact support@mapstand.com to request the upload limit is increased.
Similarly, for the following error message:
The number of active parallel uploads exceeds 5. Wait for the pending ones to finish.
Please contact support@mapstand.com to request the upload parallelism limits are changed.